[GithubPages] Creating a Github Blog in One Day
02. Getting Started
0. Before starting
1. Change your account name to English
If your account name is not in English, you might want to change it in the control panel.
2. Select your IDE
I will be using Visual Studio Code.
3. Install Git
1. Let’s start
Please take a minute to take a look at the following sites.
🔗 https://docs.github.com/en/github/working-with-github-pages/getting-started-with-github-pages
We can start by creating a repository in Github. Settings about page can be changed in the repository settings.
Github recommends using “jekyll” as a tool to post and manage your Github Pages. Jekyll is a static site generator written in Ruby. You can learn more about it at 🔗 http://jekyllrb-ko.github.io/
When learning any languages or tools, we don’t start by reading every detail. Typing it out is the fastest way to learn.
Now that we have located the basic information about the tool, let’s get started by building one by one.
1.1 Finding themes
You can use various themes on Github Pages. People have posted so many jekyll themes, which can be downloaded and applied to your blog with a few clicks.
Jekyll

Jekyll is a static site generator.
We don’t have time to learn and compose CSS, JS, HTML from the ground. It will be a pain!
Jekyll provides templates that can be customized to our needs and help us focus on posting.
We can simply download a theme we like, edit, post, and compile it with Jekyll, which generates codes, HTML, CSS, JS files. Then, we commit the files to our own github repository which creates a blog!
Tool for creating a Static website.
Support Markdown -> HTML
Many free themes
Recommended by GitHub Pages
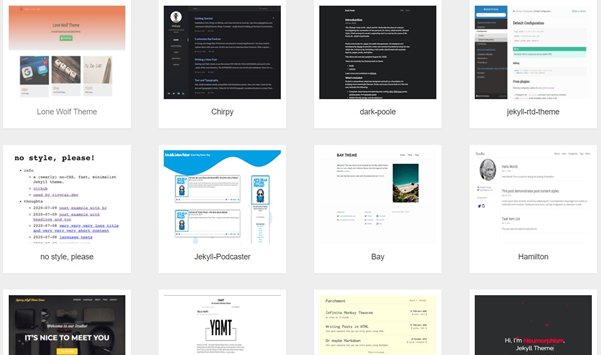
Websites where you can download Jekyll themes:
🔗 https://jekyllthemes.io/free
🔗 https://jamstackthemes.dev/ssg/jekyll/
🔗 https://jekyll-themes.com/free/
You can even create your own theme. Please refer to the page below for tutorials.
🔗 http://jekyllrb-ko.github.io/docs/step-by-step/01-setup/
Once you find the theme you like, you can click the download button or use “github clone” to install the file.
Recommended themes:
I personally like having a side-bar for my blog because it allows me to categorize my posts and is very intuitive to visitors, so that that they find the posts they want to read.
In the following episodes, we will be using the first theme “hydejack”
Most themes follow similar rules, so I would recommend learning the basics with this example then creating your own blog with a different theme.
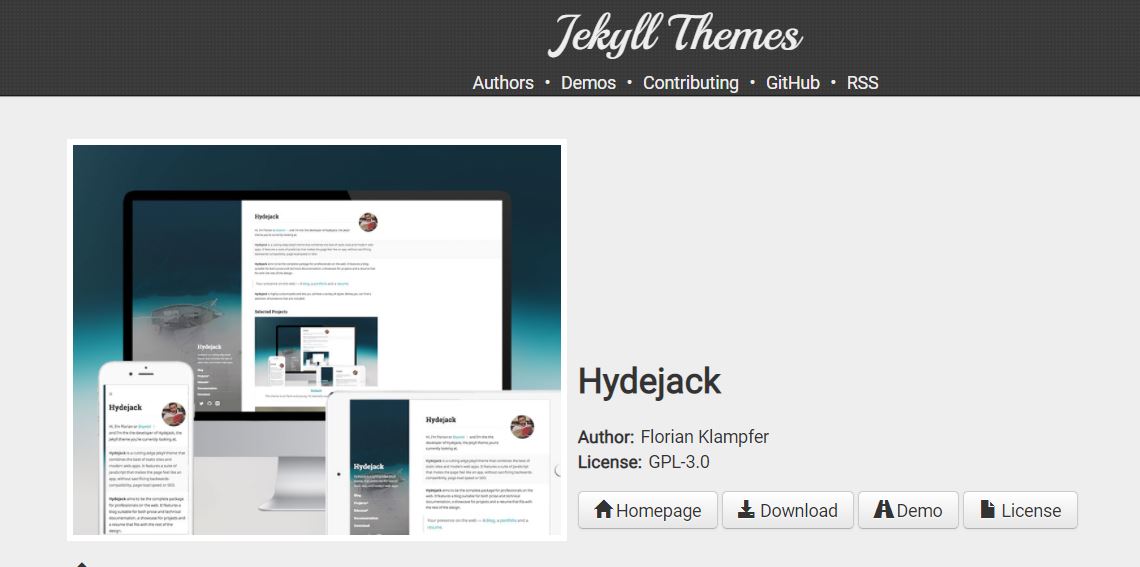
Click “Download”.
Create a folder in C Drive and unzip it inside the folder. 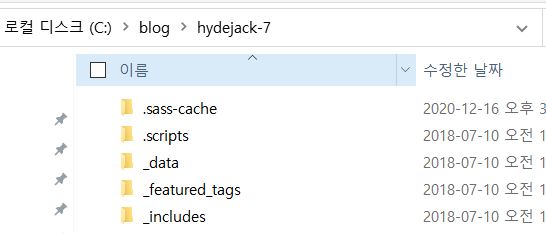
1.2 Install Ruby and jekyll
We need to install Jekyll before we can dit the downloaded files. As said in the previous post, Jekyll is a static compiler. The files (Markdwon, _config.yml, etc.) we edit in texts are converted into a product in _site folder which is then executed on the web via Github.
We need a Ruby environment to install jekyll theme, edit, and manage.
- Ruby Installation
The reason why we install Ruby is because Jekyll is composed of Ruby. However, we don’t need to know Ruby at all. I don’t have much experience with Ruby but was able to install without any issues.
For Windows, we need to go to the “Ruby Install Page” below and downloaod the one with => symbol.
🔗 https://rubyinstaller.org/downloads/
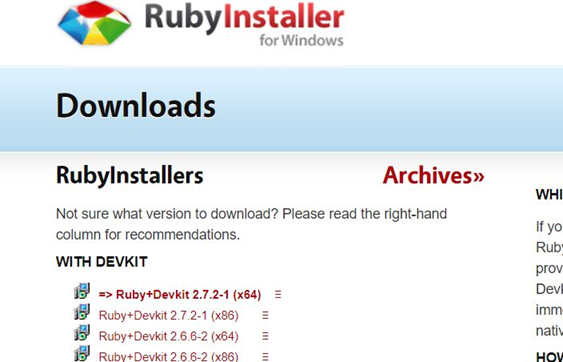
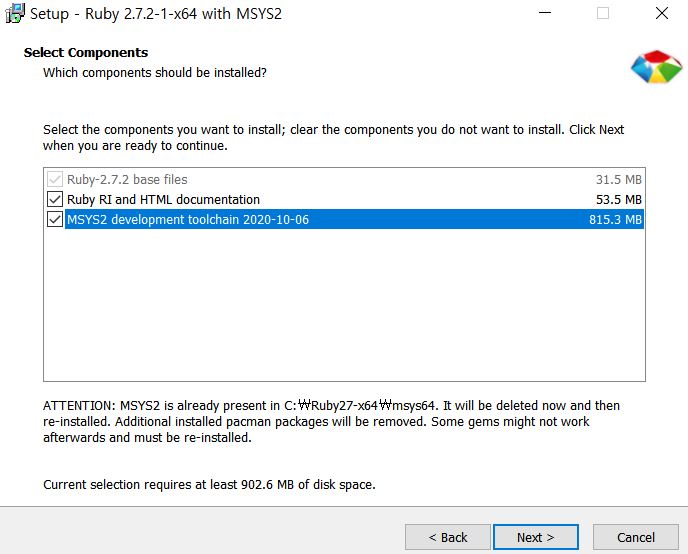
Check all the boxes here.
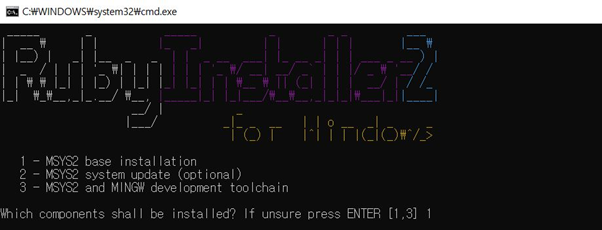
Press 1 and hit “enter”.
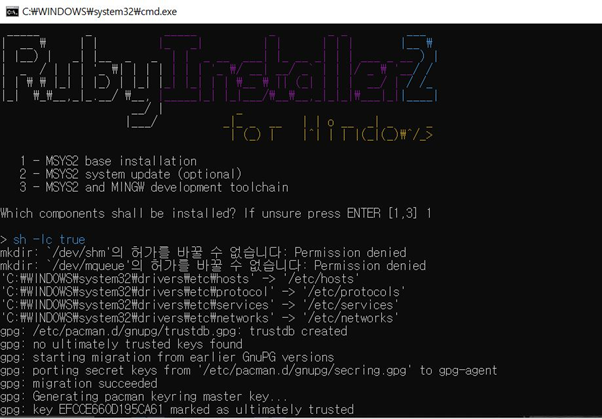
It will install everything. Hit “enter” to exit after installation is done.
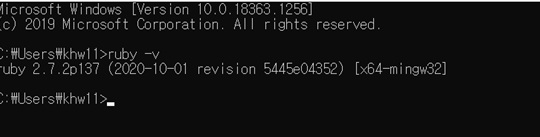
Open “Cmd” and type “ruby -v” to check that Ruby is installed.
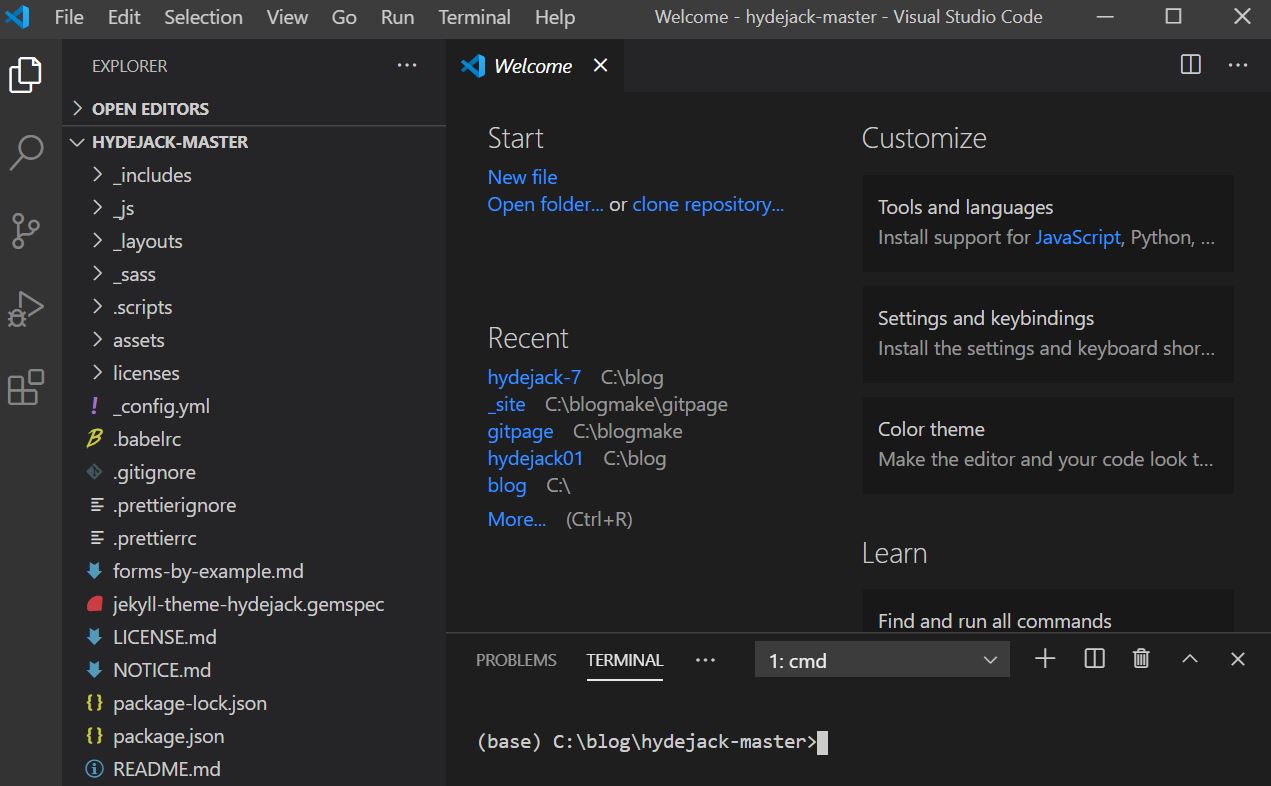
Right-click on the folder and open visual studio code.
You can open up the console by pressing “Ctrl + ~”
Type in “chcp 65001”.
This grants encoding. If not run, we will see errors in the following steps.
C:\blog> chcp 65001
Type in “gem install bundler jekyll minima jekyll-feed tzinfo-data rdiscount”.
It will take some time.
C:\blog> gem install bundler jekyll minima jekyll-feed tzinfo-data rdiscount
After it’s done installing:
C:\blog> bundle update --bundler
C:\blog> bundle install
C:\blog> bundle exec jekyll serve
We will see the following output:
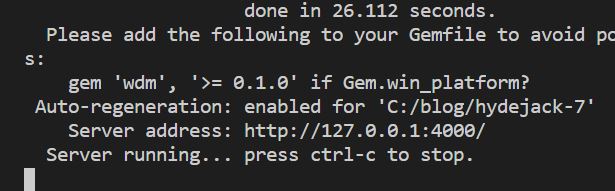
Press “Ctrl + C” twice to exit.
Add the text below to the “Gemfile” located on the left side-bar. Save by pressing “Ctrl + S”.
gem ‘wdm’, ‘>= 0.1.0’
Type in
bundle exec jekyll serve
in the console.
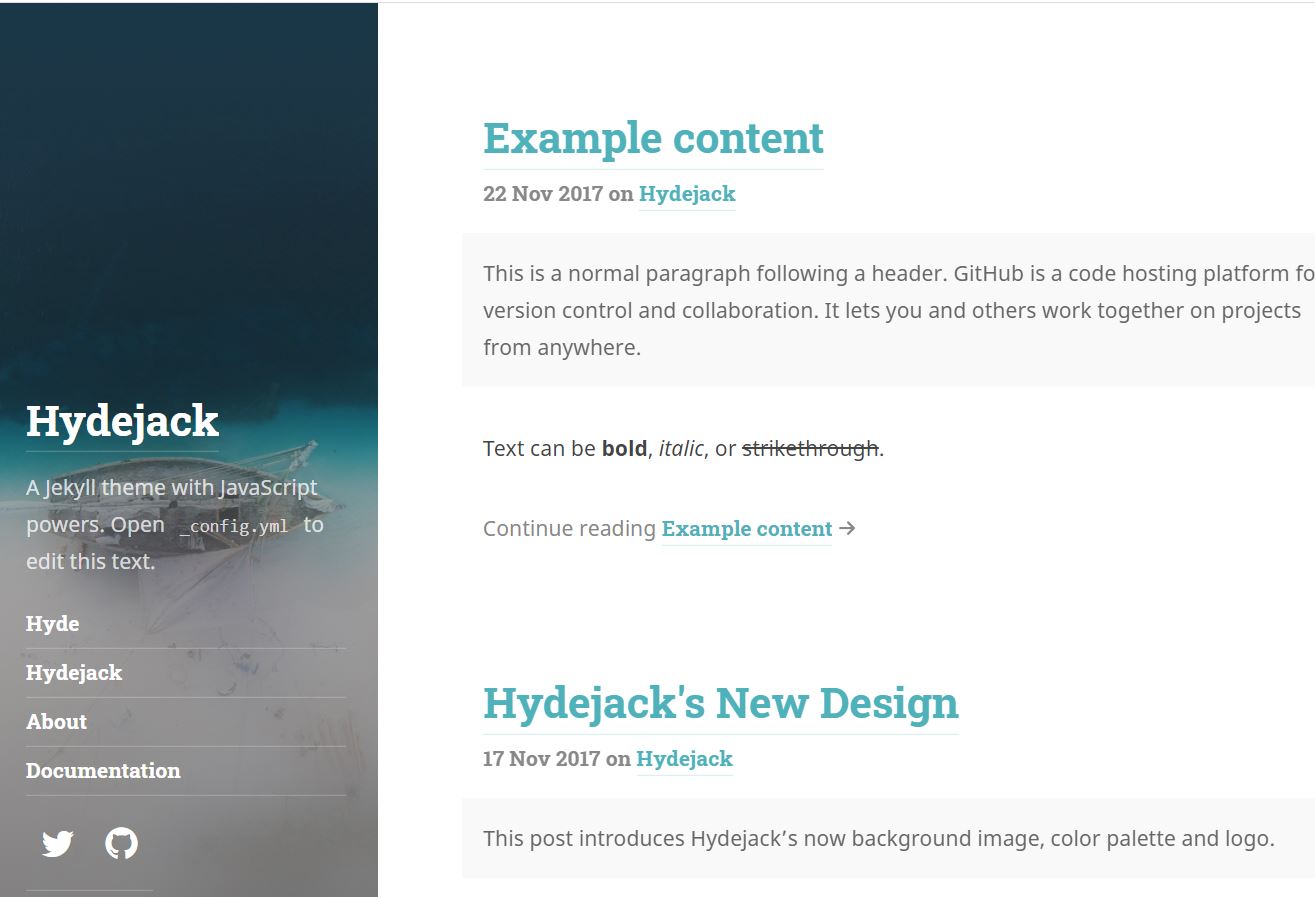
Try http://127.0.0.1:4000/ on your web browser. This will generate a site with the hydejack theme we downloaded!
In the next post, we will customize our blog.